|
|
7年前 | |
|---|---|---|
| CLI | 7年前 | |
| filesystems | 7年前 | |
| legacy | 7年前 | |
| lib | 7年前 | |
| mem_lib | 7年前 | |
| screenshots | 7年前 | |
| .gitignore | 7年前 | |
| IntToString.nasm | 7年前 | |
| README.md | 7年前 | |
| RealToProtectedExampleOsdever.nasm | 7年前 | |
| Strings32.nasm | 7年前 | |
| bootloader.nasm | 7年前 | |
| build | 7年前 | |
| build.sh | 7年前 | |
| demo | 7年前 | |
| go32bit.nasm | 7年前 | |
| idt.nasm | 7年前 | |
| kernel.nasm | 7年前 | |
| vbr.nasm | 7年前 | |
README.md
SingOS
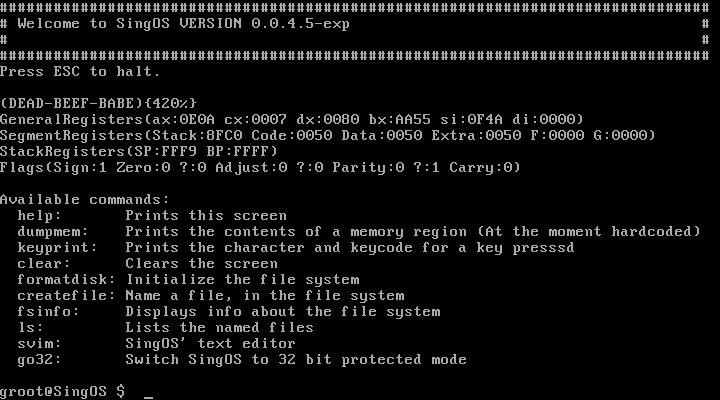
SingOS is a single task operating system.
Current version 0.0.4
The goal for this project is to create a Operating System
which tries to find new better ways to handle memory adressing
It will also be posible to switch between 16, 32 and 64-bit mode
such that anything on very low level can be tested.
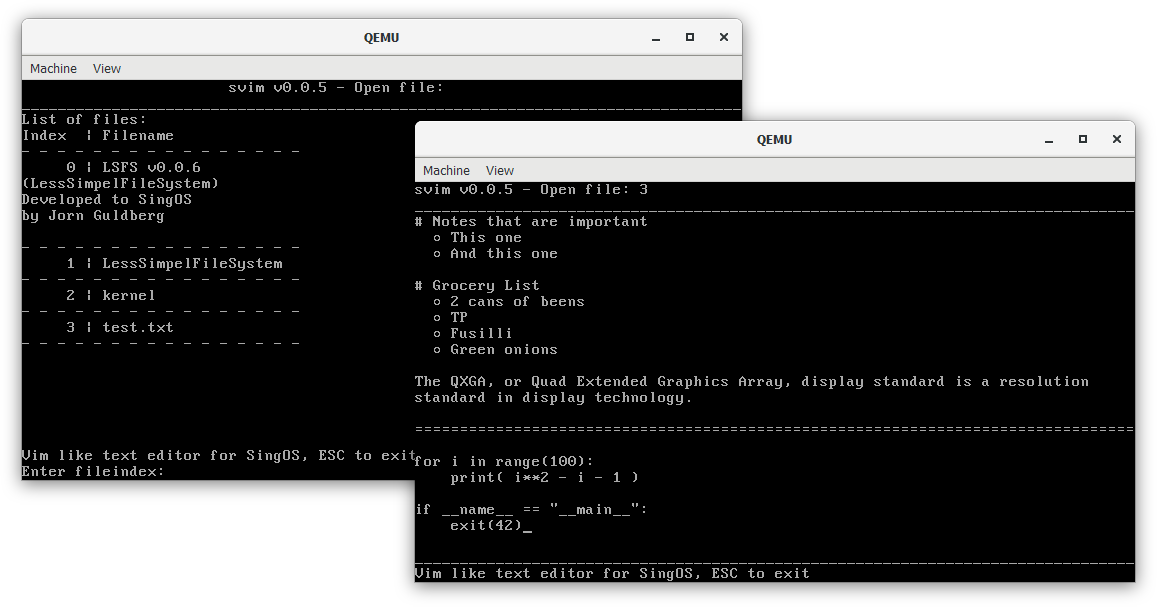
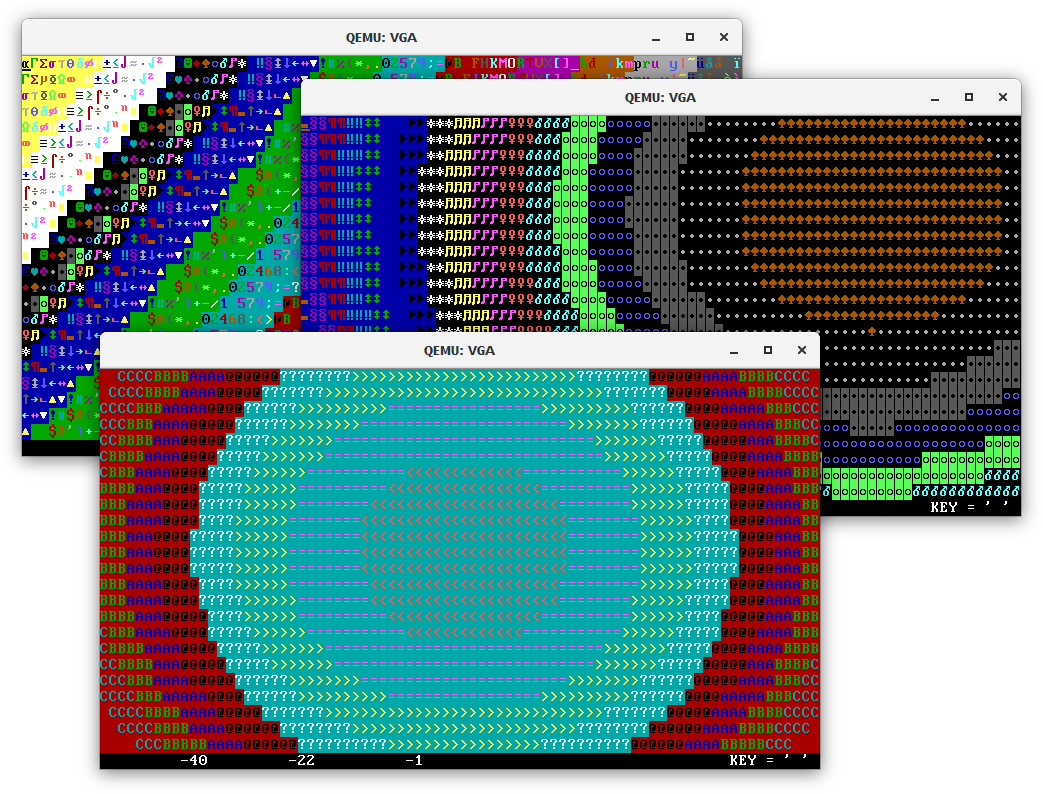
Screenshots
Svim, everyone's favorite text editor for SingOS
The spectacle that is the 32 bit protected mode SingOS placeholder
Build Instructions
You can build and run the OS with following command
Requires nasm and qemu installed and in PATH
sh build.sh
If you only want to run SingOS:
sh build.sh run
If you only want to compile the binary:
sh build.sh make
If you want to run SingOS on real hardware we recommend running it from a usb thumb drive:
WARNING: For now you should only run SingOS on a PC with no important data.
sudo dd if=/<PATH TO SING OS>/SingOS.img of=/dev/<DEVICE NUMBER FOR USB DRIVE> status=progress oflag=sync
Now, plug the drive in any x86 pc with BIOS support, push the power button, and enjoy! (^: